


Norwegian playwright Henrik Ibsen coined the phrase “friluftsliv” to describe the core Nordic principle of spending time outdoors year-round, while the Danish concept of “hygge” — enjoying quiet, cozy time inside with loved ones — has inspired many a Pinterest board.
As the cold and dreary months of the year draw near, consider adopting a bit of both philosophies by bringing the outside in through indoor gardening. By bringing greenery into your home, working soil with your hands, and nurturing something from seed to harvest, you can add much-needed light to the darkest days of winter.
Here are three indoor gardening ideas to keep you busy until spring blooms again.
Microgreens
The beauty of microgreens lies in its simplicity and the power they pack. If you’ve never grown anything before, microgreens are a great place to start.
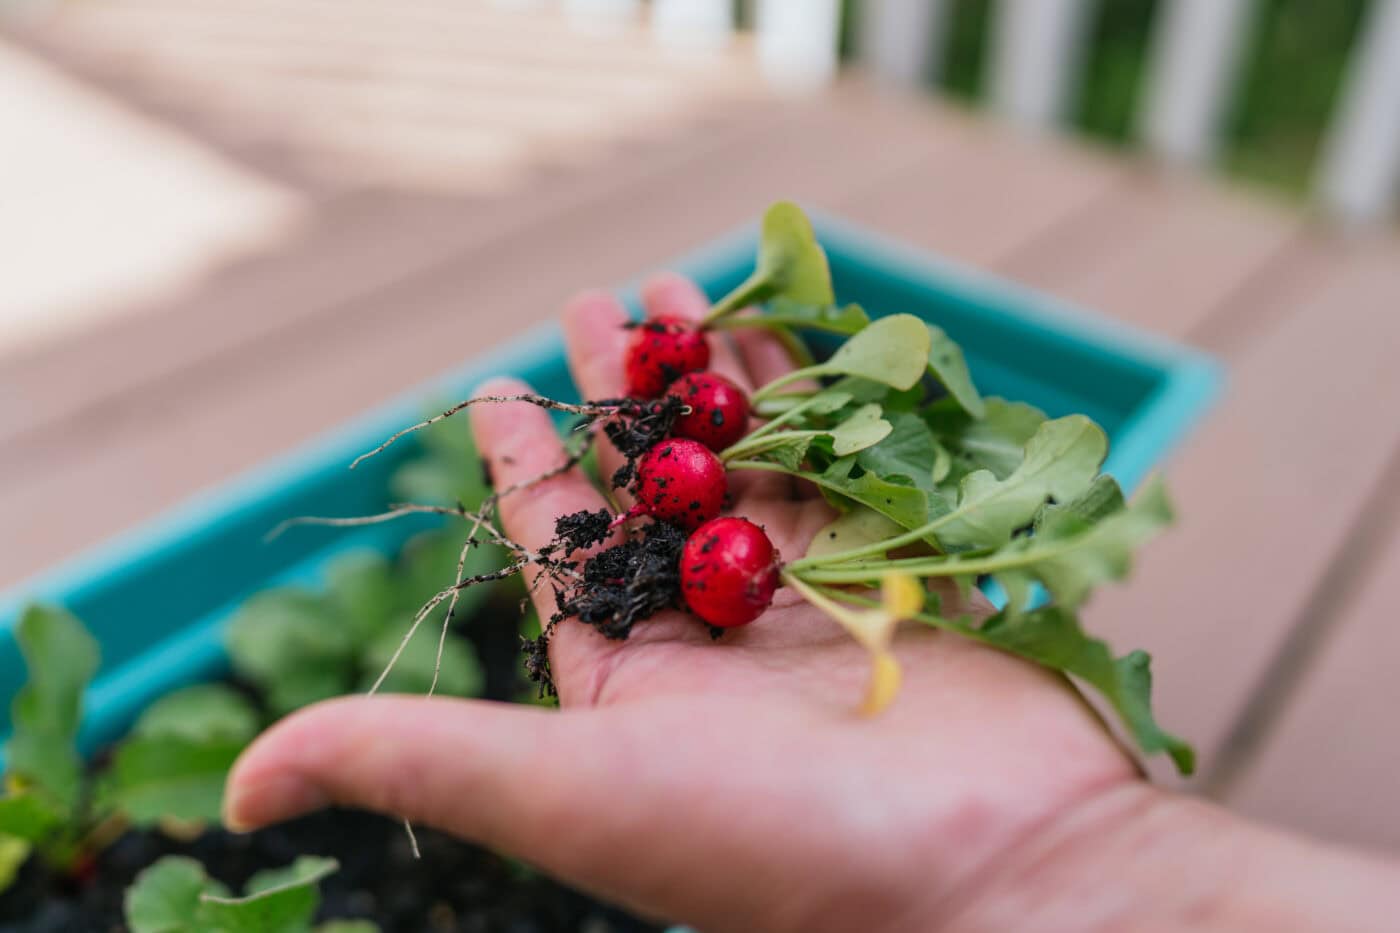
Tiny Greens Farm supplies homegrown microgreens to CSAs, farmers markets, and restaurants around the Hudson Valley. Owner Nicole Harris, a certified clinician in whole food nutrition, says that microgreens are high in micronutrients like minerals and vitamins. “Because they’re so small,” she says, “there’s so much nutrition packed in — up to 40 times more nutrients than their adult counterparts.”
They’re also quite easy to grow. Microgreens take only 10 to 14 days to mature, and all you need is soil, seeds (packets are sold at local gardening centers), water, and a sunny windowsill. Varieties abound, but Harris recommends starting with flavors you already know and like — radishes and broccoli are solid staples.
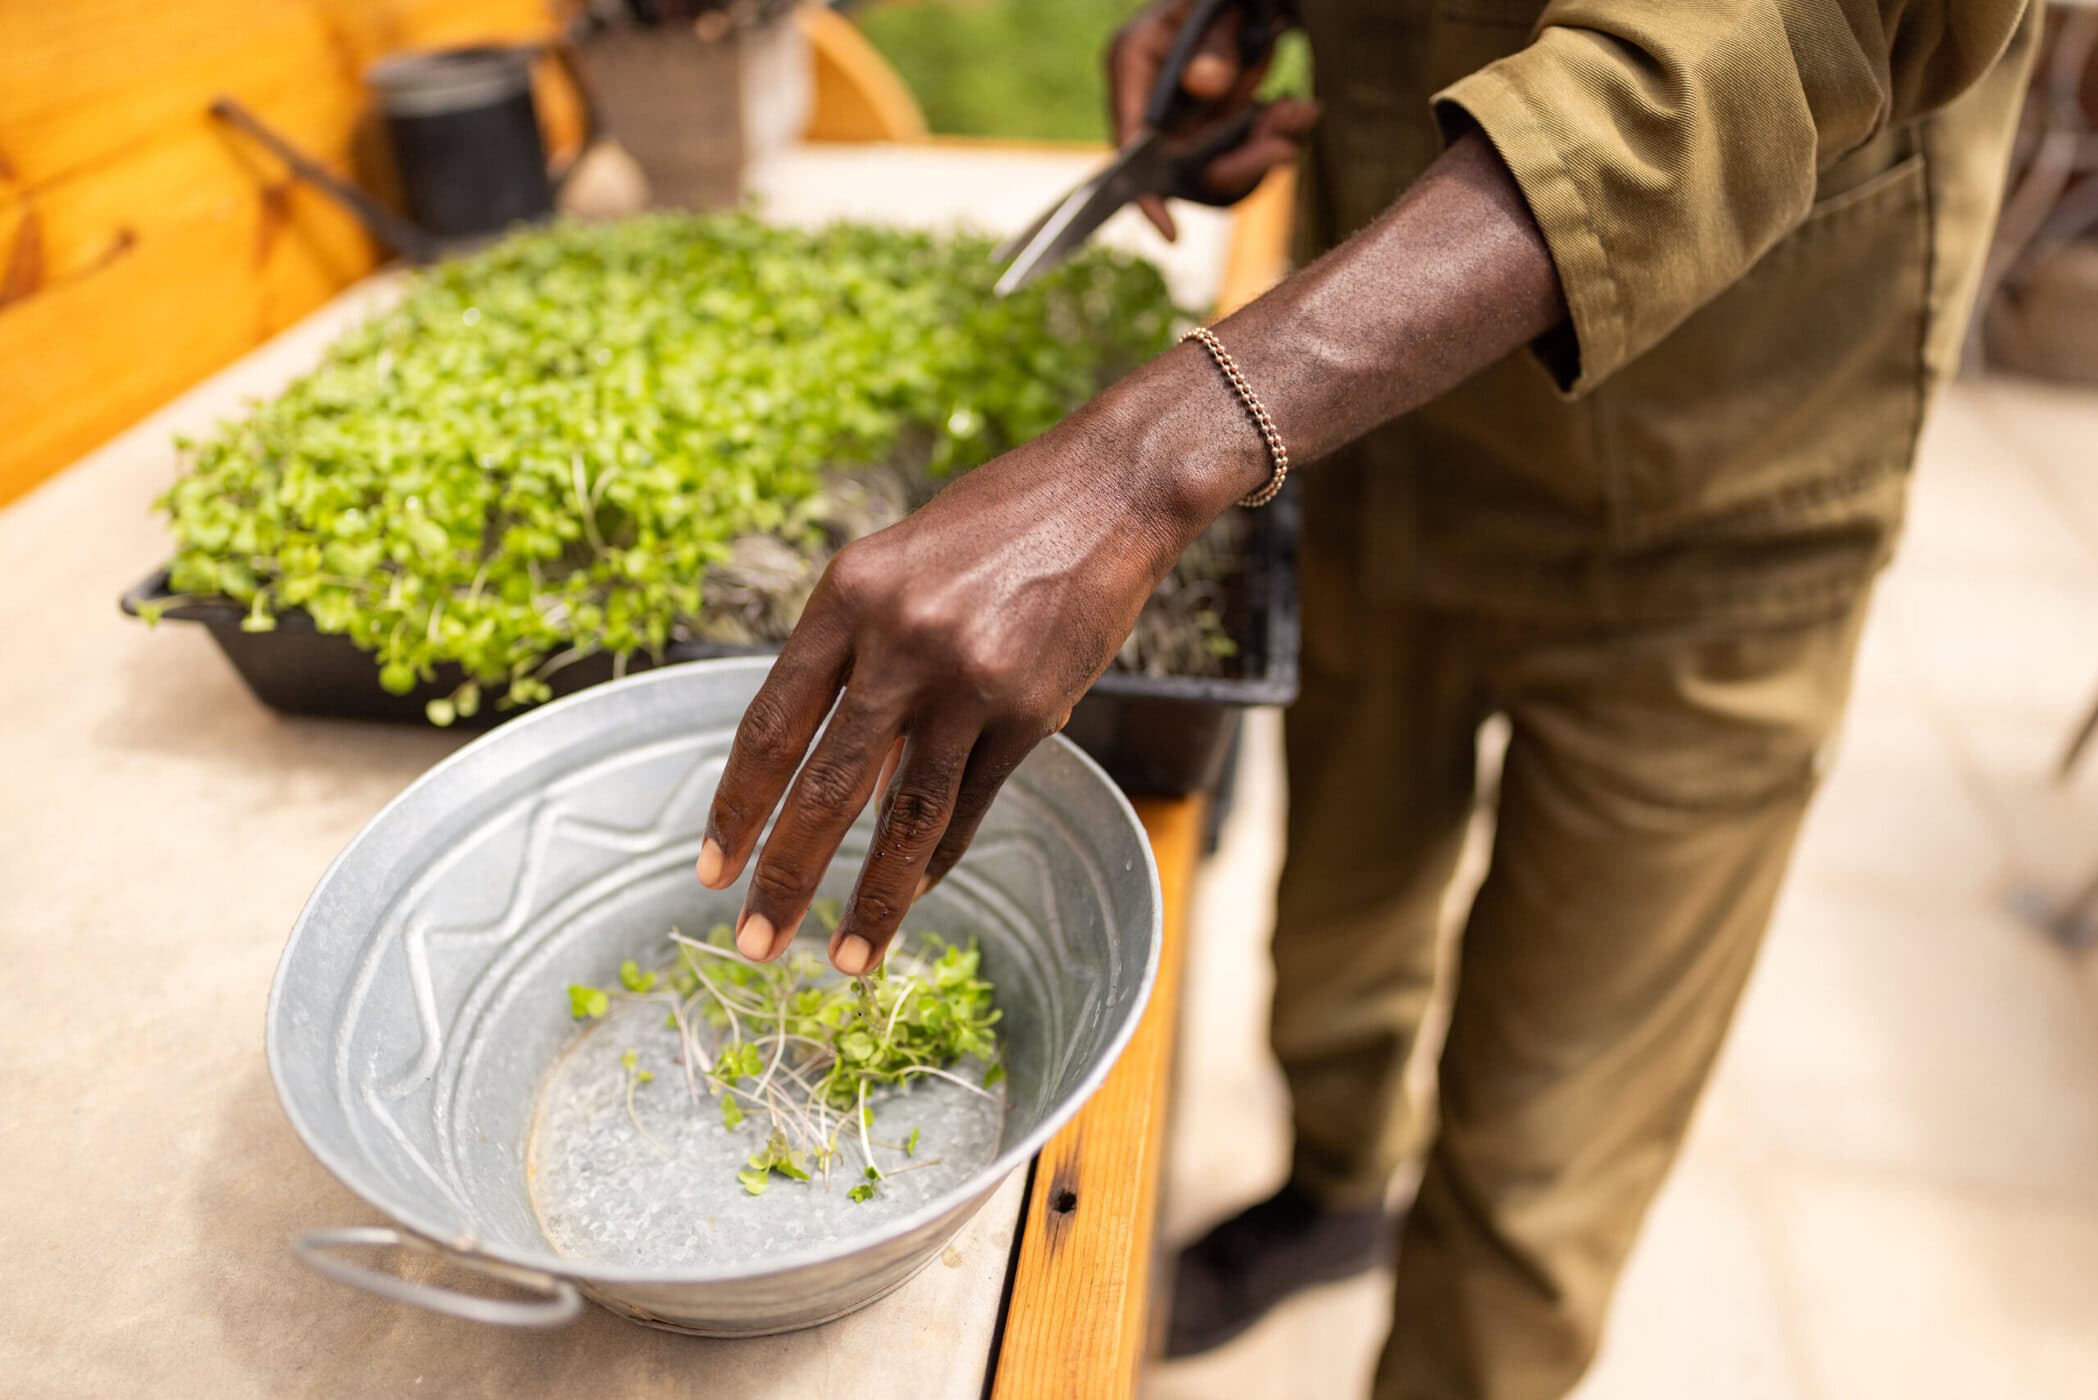
Fill your container (even a repurposed mug will do) with soil, add seeds on top, and mist with water. You should see sprouts in just a couple of days, and can harvest with a clean pair of scissors when the leaf growth is at about 2 inches.
For growing on a slightly larger scale, but still indoors, follow the same process, moving over to the counter and adding an LED grow light with a 5×5- or 10×10-inch growing tray.
Once harvested, microgreens can easily be added to salads, blended into smoothies or sauces, or served to fresh-top a takeout dish like pizza. Harris finds that it fills her cup to be able to grow food that feeds her family and community. “Caring for something else, tending to something from start to finish and enjoying it — there’s something so satisfying about that,” she says.
Mushrooms
Mushrooms are another nutrient-dense food that can be grown indoors, and they’re also a protein-rich meat alternative. Like microgreens, growing mushrooms doesn’t require many materials or indoor space — just a bit of basic kitchen science.
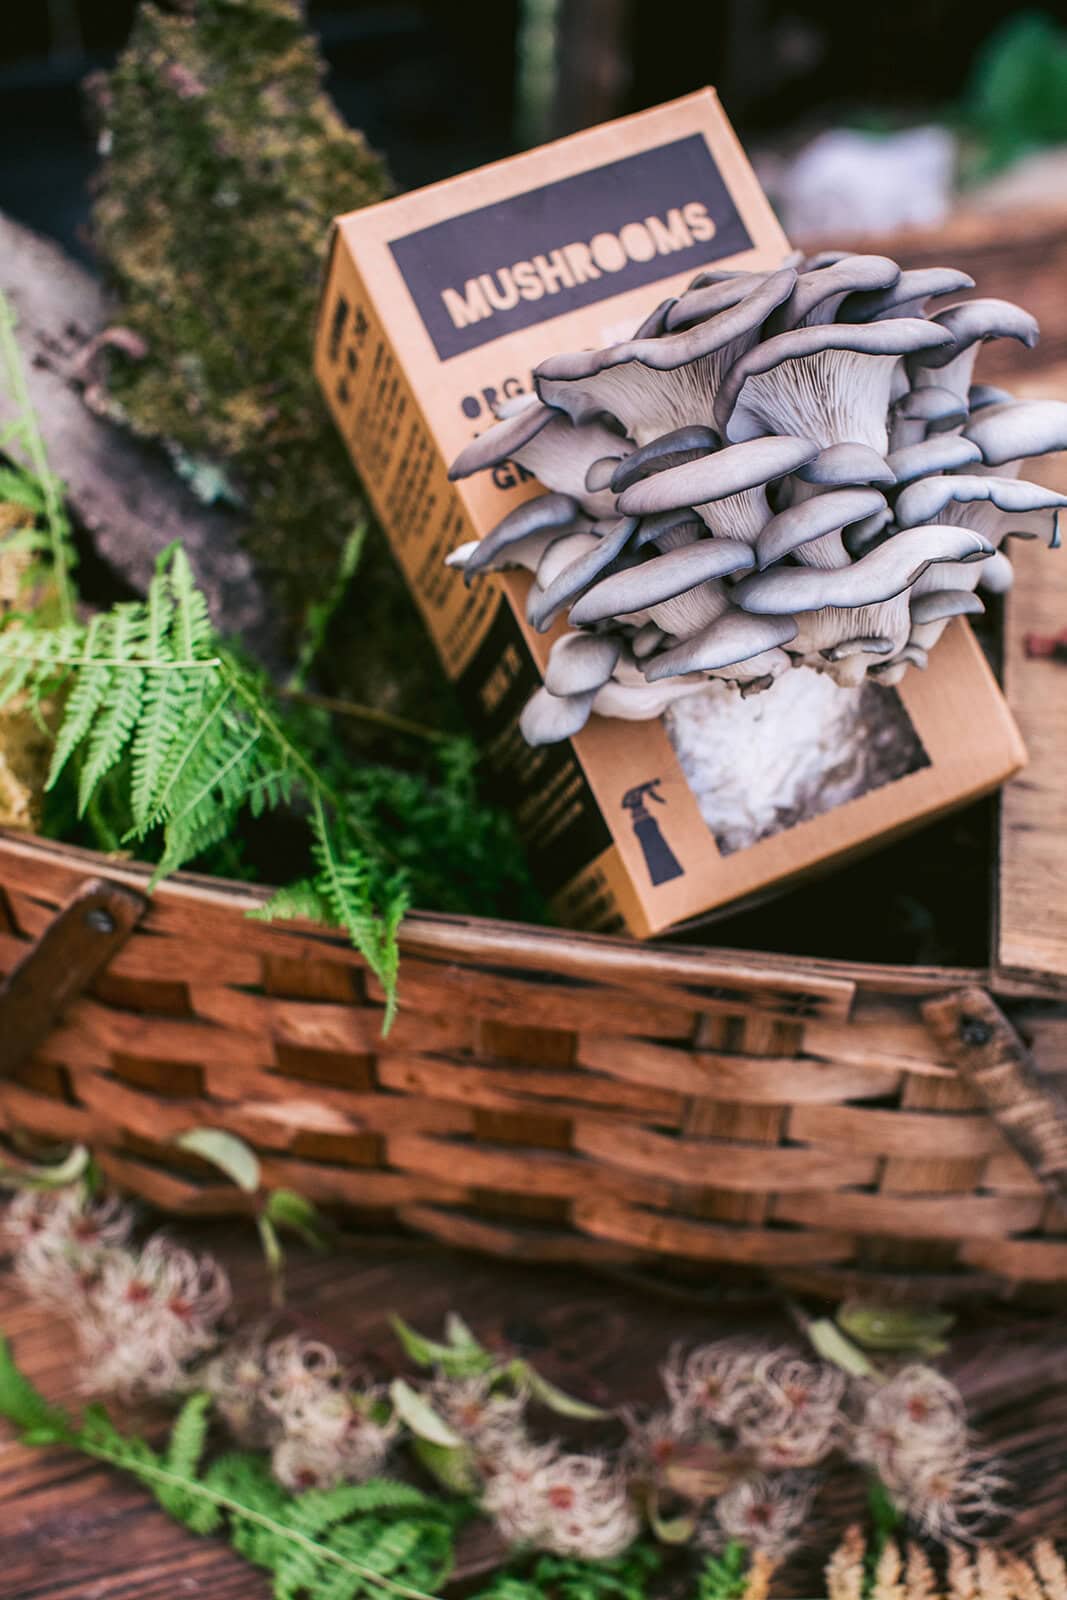
Sugarshack Mushrooms, a family-run mushroom farm based in New Paltz, utilizes organic practices to grow mushrooms throughout most of the year. Co-founder Alisa Javits explains that the process of preparing materials for growing mushrooms indoors boils down to sterilizing, inoculating, and incubating.
Begin by choosing your substrate, or the material that the mushroom will be growing on. A common substrate for mushrooms is saved up coffee grounds, but cardboard or any carbonaceous material such as wood chips, straw or sawdust can also be used.
Then pick your mushroom (oyster mushrooms are recommended for beginners, as they’re “the most vigorous and most forgiving”). Next, purchase a mushroom “spawn,” typically available in a 5-lb. bag with mycelium (the fungi that eventually will produce or “fruit” the mushroom) already growing in it. This can be purchased from a mushroom farm or other supplier.
You’ll also need a container, such as a 5-gallon bucket, with two to three holes drilled into its sides. Cornell University breaks down this process for beginners into steps like sterilizing, inoculating, and incubating.
For beginners intimidated by this DIY route, growers like Sugarshack sell grow kits for oyster, lion’s mane, and shiitake mushrooms (alongside a selection of medicinal mushroom tinctures). “The grow kit is a nice way to introduce yourself to the process,” Javits says. “We’ve done the hard part and inoculated the substrate so it fast-forwards the experience. The rest is a spray-and-grow situation.” Sugarshack’s mushroom grow kit includes a sawdust block that is fully myceliated, as well as instructions and cooking tips.
Forcing bulbs indoors
A burst of color or fragrance from flowers can be a salve for your mood in a season rife with bare trees and gray slush.
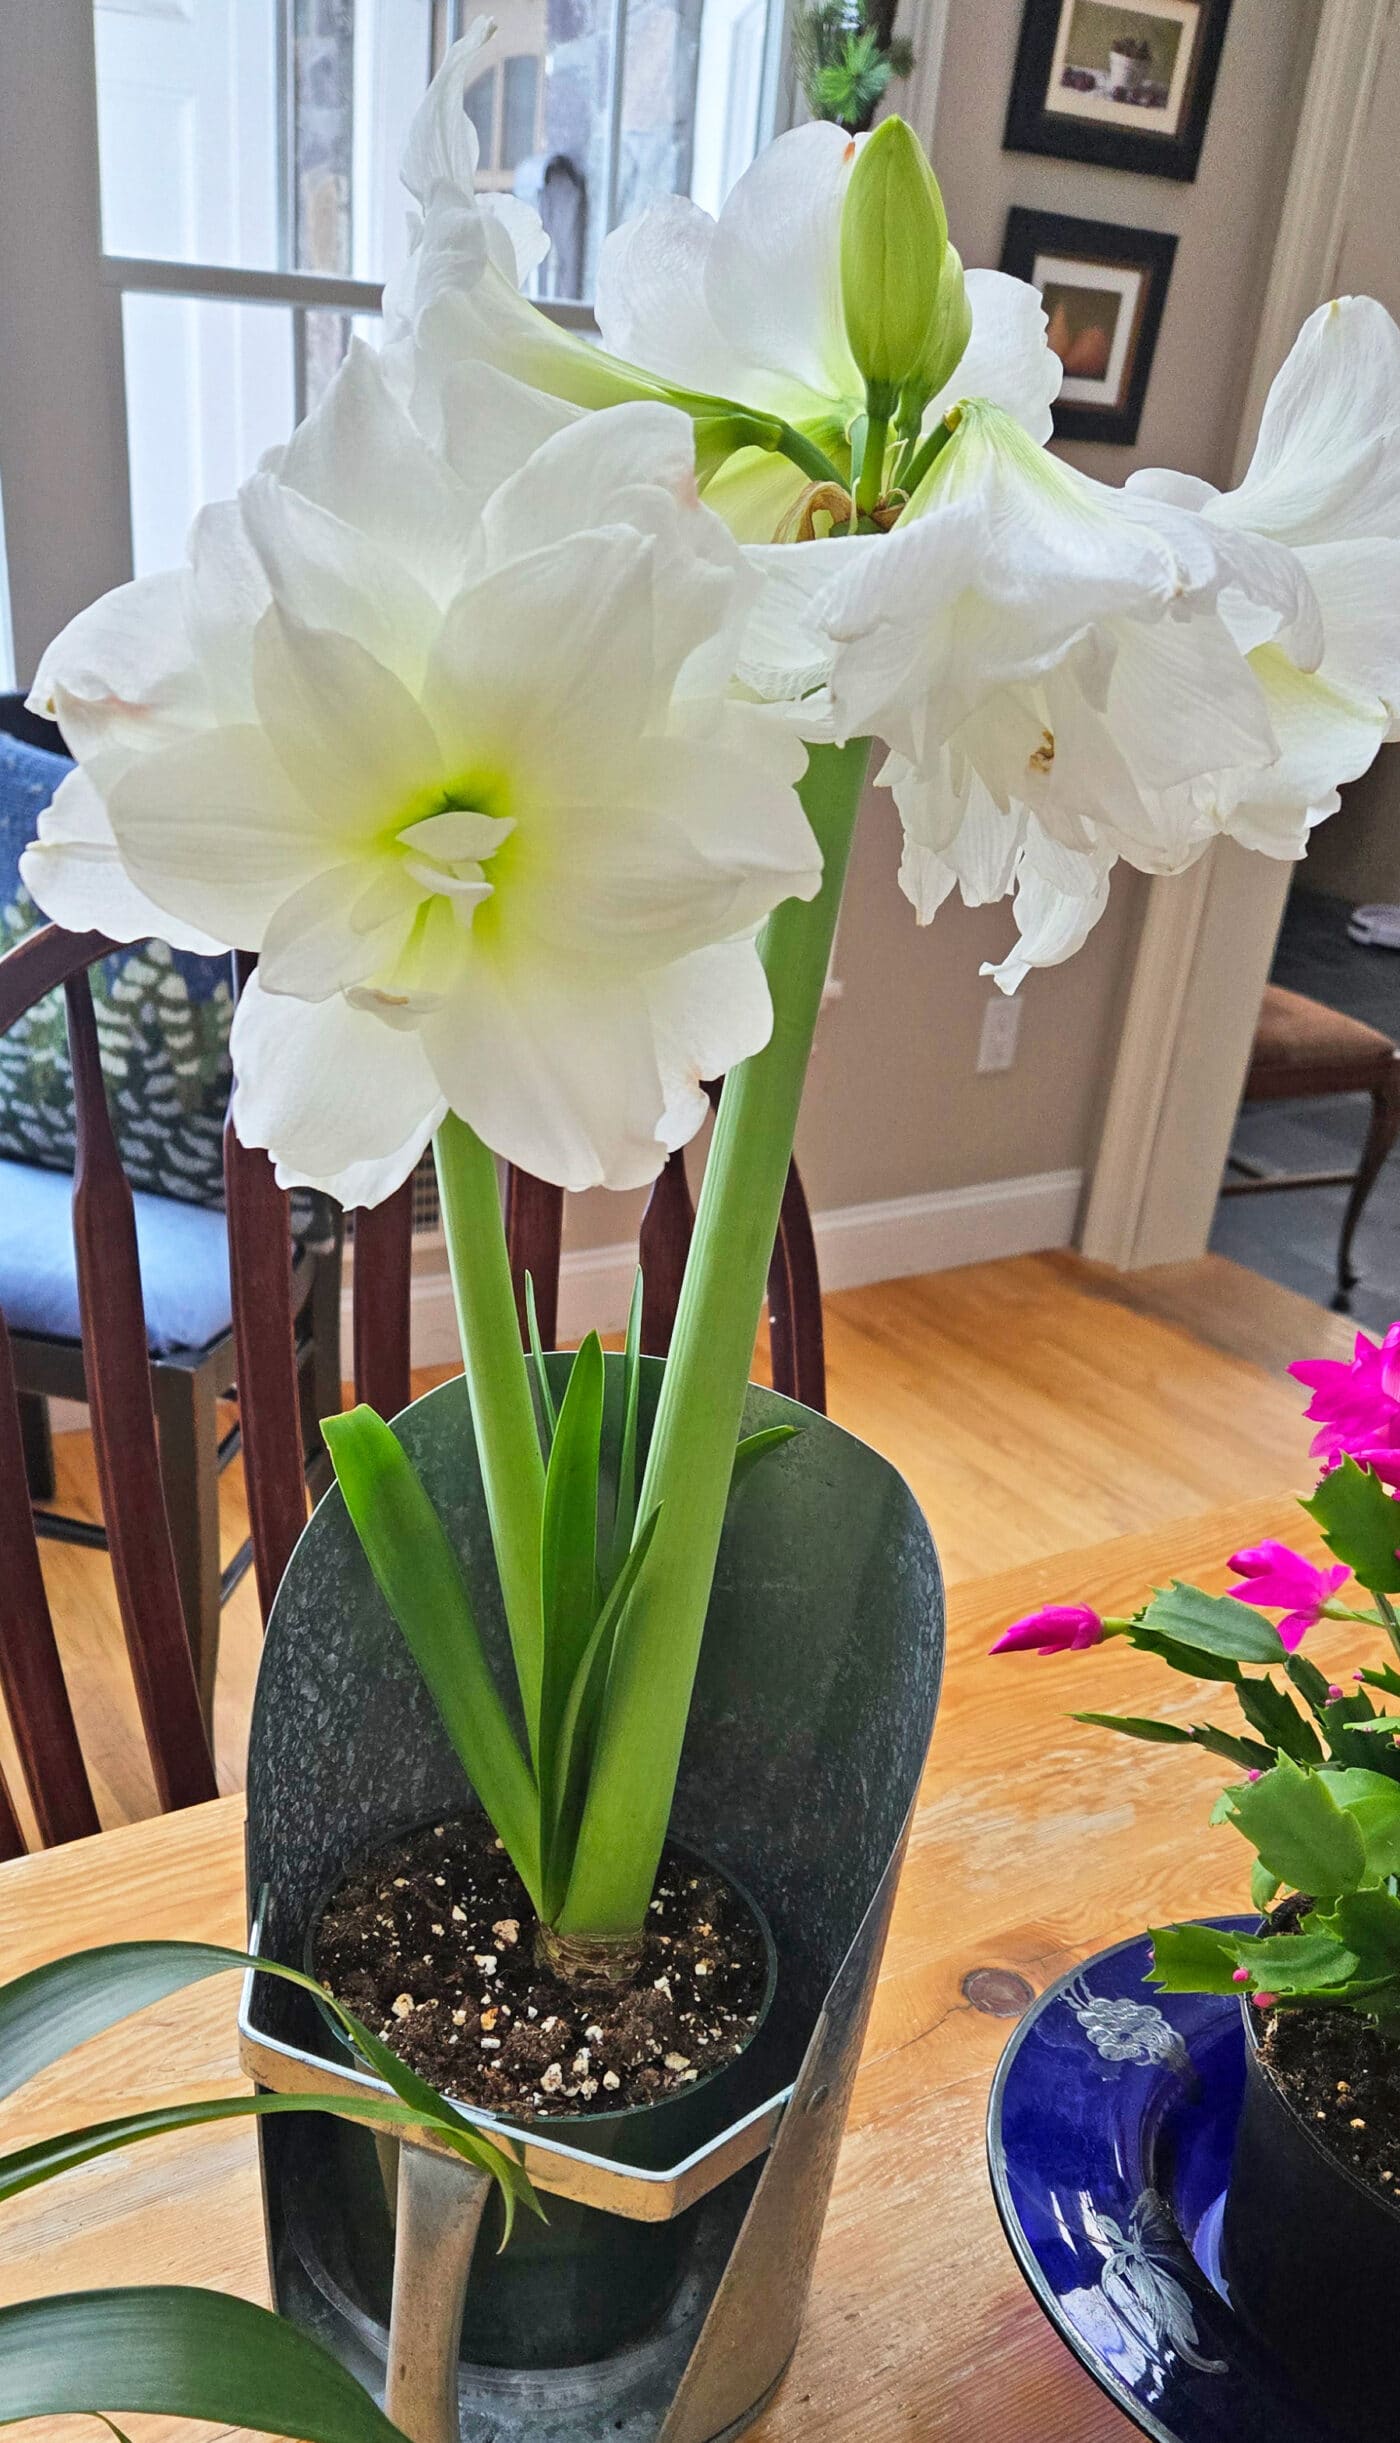
Through a simple gardening process of forcing bulbs indoors, you can speed up the development of a flower by recreating its natural conditions inside, and allowing it to bloom long before the last frost of the season. This traditional winter gardening practice follows a relatively simple process ideal for beginners.
Serena Starzyk, a master gardener volunteer with the Cornell Cooperative Extension Dutchess County, offers steps on getting started. Select healthy bulbs such as paperwhites, amaryllis, hyacinths, or pre-chilled tulips. “These can be encouraged to bloom indoors weeks or even months before they would naturally flower outdoors,” she says.
Fill a pot with a well-drained potting mix, or use a decorative container with pebbles and water. Place bulbs with the pointed end facing up. Leave the top one-third of larger bulbs exposed above the soil line. Water lightly and place in a cool, bright location.
For hardy bulbs such as tulips and hyacinths, provide a chilling period if required. Keep the growing medium moist but not wet and rotate the container occasionally for even growth.
Enjoy blooms several weeks later, brightening even the darkest part of winter.